< Previous | Contents | Next >
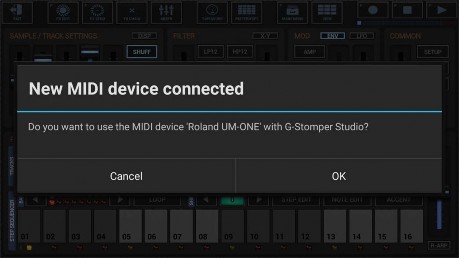
Once you have all the required cable adapters, start the G-Stomper app and connect your MIDI hardware with the USB cable (or in use of a USB to MIDI DIN Interface). Once connected, G-Stomper will show up a confirmation dialog.
If your device is running on Android 6 or higher and your USB MIDI device is USB class-compliant, then your MIDI device uses the new Android M based USB MIDI driver, which is the best and most stable setup.
If this is the case, you’ll see the following message.

If your device is running on Android 5 or lower or if your MIDI hardware is NOT USB class-compliant, then your MIDI device will use the classic Android 5.x based USB MIDI driver. If this is the case, you’ll see the following message instead.

In both cases, confirm with OK.
You’re now ready to use your USB MIDI device.
If your device is running on Android 6 or higher and your USB MIDI device is NOT USB class-compliant, you’ll get an additional message, telling you that your MIDI device was connected in use of the fallback driver.

Using the fallback driver does not mean in any way that the device is not working. You can use such a MIDI device without any limitations, but it might be that the reaction time is slightly slower than with the regular Android M based driver.