< Previous | Contents | Next >
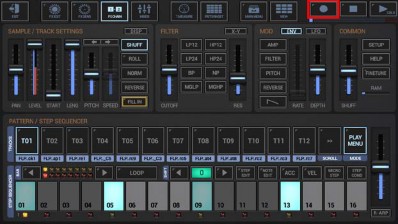
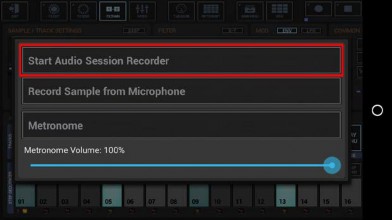
Long press Record to show up the extended Record menu.

In the menu, press ‘Start Audio Session Recorder’.

Select the Recording Format.

Bit Rates: 8bit, 16bit, 24bit, 32bit(float)
Sample Rates: 22050Hz, 32000Hz, 44100Hz, 48000Hz, 64000Hz, 88200Hz, 96000Hz
What sample format you choose strongly depends on your personal needs. Here are some examples:
Final export for audio CDs: 16bit, 44100Hz, Stereo
Raw export to be mastered using external studio equipment: 24bit, 96000Hz, Stereo
Select a Post Processing method.

In most cases „Normalize Level to -0dB (channels linked)” is the best choice (which is the default for Audio Session Recordings).
Further Post Processing options:
- Normalize Level to -0dB (channels linked)
- Normalize Level to -0dB (each channel independently)
- No Post Processing (leave the mix as is)
Choose a name for the recorded file.
(By default, the recorded file is named like the currently loaded Pattern Set)

Once you’ve entered the file name, the recording session starts.
Please take note that the Audio Session Recorder remains in paused state, if no sound is playing in the moment you start a recording session. In this case the Timer flashes and remains at zero.

The recording will start as soon as the first sound starts playing.

Once started, the recording will run unil you stop it manually (see next Chapter) or until an auto-stop is triggered (if the app goes to background, the storage is full or if silence of more than 15 seconds occurs).