< Previous | Contents | Next >
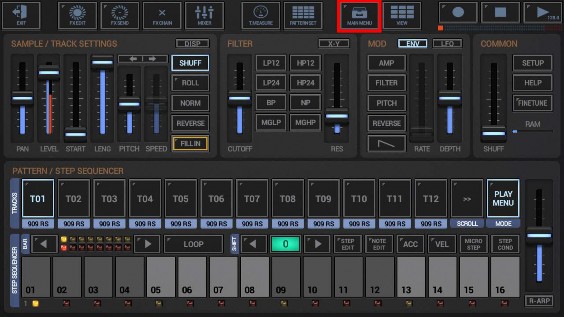
Show up the Main Menu.
Depending on the used App, the Main Menu location and its content might be different.

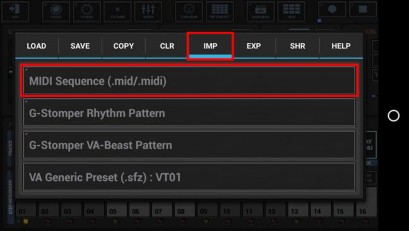
To import a MIDI file, select the IMP tab, and then choose “MIDI Sequence (.mid/.midi)”.

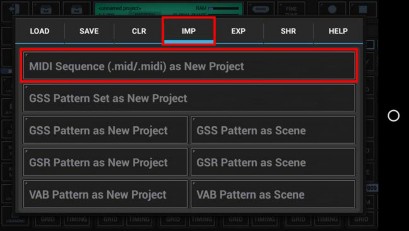
To import a MIDI file, select the IMP tab, and then choose “MIDI Sequence (.mid/.midi) as new Project”.
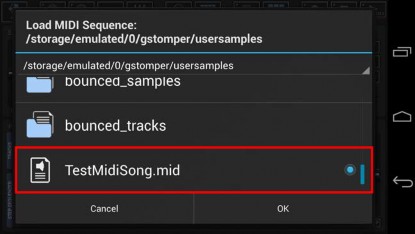
Select the MIDI file you want to import and confirm with OK.
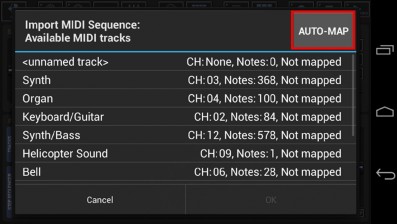
After a quick scan of the MIDI file, you’ll get a list of available MIDI tracks including the track names, MIDI channels, number of notes in each track, and the import mapping to the G-Stomper tracks.
By default, no MIDI tracks have an import mapping assigned. You can either map each MIDI track manually, or you can just use the “Auto-Map” button on top. The Auto-Mapper automatically assigns the most suitable import mapping for you, based on the available G-Stomper tracks.
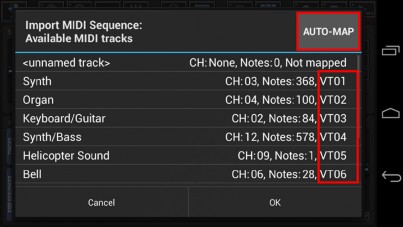
MIDI Instrument tracks will be auto-mapped one by one to the available VA-Beast Synthesizer tracks.
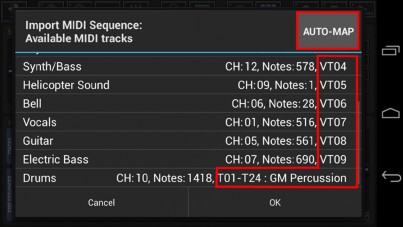
The first MIDI Percussion track (CH: 10) will be auto-mapped to the drum machine (T01-T24 : GM Percussion). A GM Percussion Mapping will automatically use the “GM Drum Kit - Mixed” Sound Set.
In most cases, the Auto-Mapper will come up with a suitable result, but there might be situations where you want to manually change certain mappings.
To change a mapping, just tap the list item, in this example the MIDI Percussion track “Drums”.
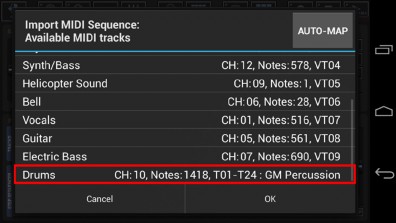
Now you can choose a mapping destination from the available G-Stomper tracks.
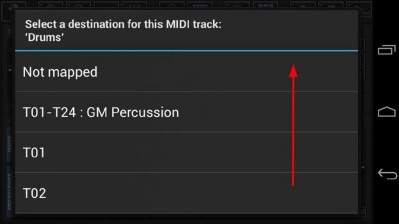
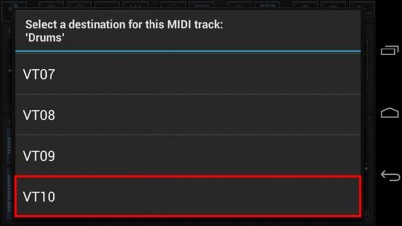
In this example, select the VA-Beast track VT10 as mapping destination.
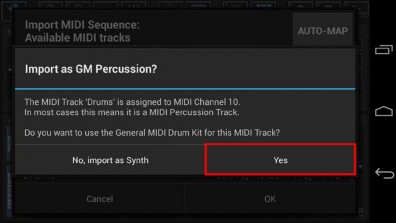
If you map a MIDI Percussion track (CH: 10) to a VA-Beast Synth track (VT10 in this example), G-Stomper recognizes the MIDI track as percussion and asks you if you want to use the “GM Drum Kit” VA-Beast preset. Confirm with “Yes” to use the GM Drum Kit.
Your selection will now be reflected in the list of available MIDI tracks.
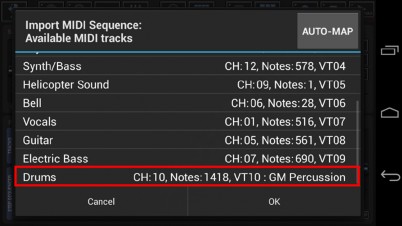
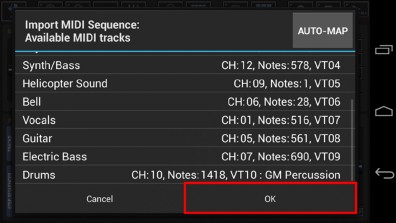
When you have finished the import mappings, confirm with OK.
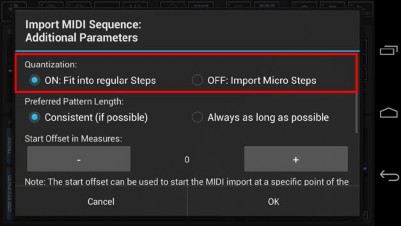
By default, the quantization is turned on, which means all imported notes and triggers will be forced to fit into regular steps. During the import process, G-Stomper adjusts the Step Timing, Steps per Bar and Length in Bars of each Pattern to achieve the best possible result for the given MIDI Sequence.
Depending on the given MIDI sequence it can make sense to turn the Quantization off. If you do so, the imported notes and triggers will be placed at their actual position in use of micro steps (32 micro steps have the same duration as to one regular step).
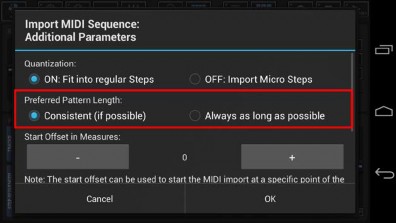
In most cases, the default setting “Consistent (if possible)” is the best choice. “Consistent” means that the imported Patterns will all have the same duration (if possible; there can be exceptions). However, there might be situations where you want to have each individual pattern as long as possible. If that is the case, select “Always as long as possible”.
The start offset can be used to start the MIDI import at a specific point of the timeline. A value below zero is typically used if the imported patterns were musically shifted on first try (e.g. if a melody starts in the middle of one pattern and ends in the middle of the next pattern). A value above zero makes typically sense if you want to skip a part at the beginning of the MIDI file. The value is in musical measures, which depend on the Time Signature of the imported MIDI file. In 4/4 Time one measure is 4 quarter notes, in 3/4 Time it is 3 quarter notes, in 9/8 Time it is 9 eighth notes, and so on.
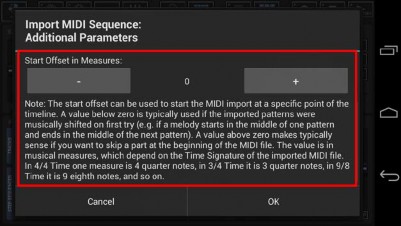
Finally, confirm with OK to start the import process.

